Time Machine on ZimaBoard


I have been using a Time Capsule as an internal network NAS station for Time Machine backups for the last eight years, and I liked the experience. Especially the simple back-in-time per-folder ability with the fancy UI.
When the war in Ukraine started, my family and I were out of Kyiv and couldn't take the Time Capsule with us. It ended up stolen by the russian military😿 Once we settled in Calgary, I wanted to get the same experience I had in Kyiv, and at this point, I've got ZimaBoard.
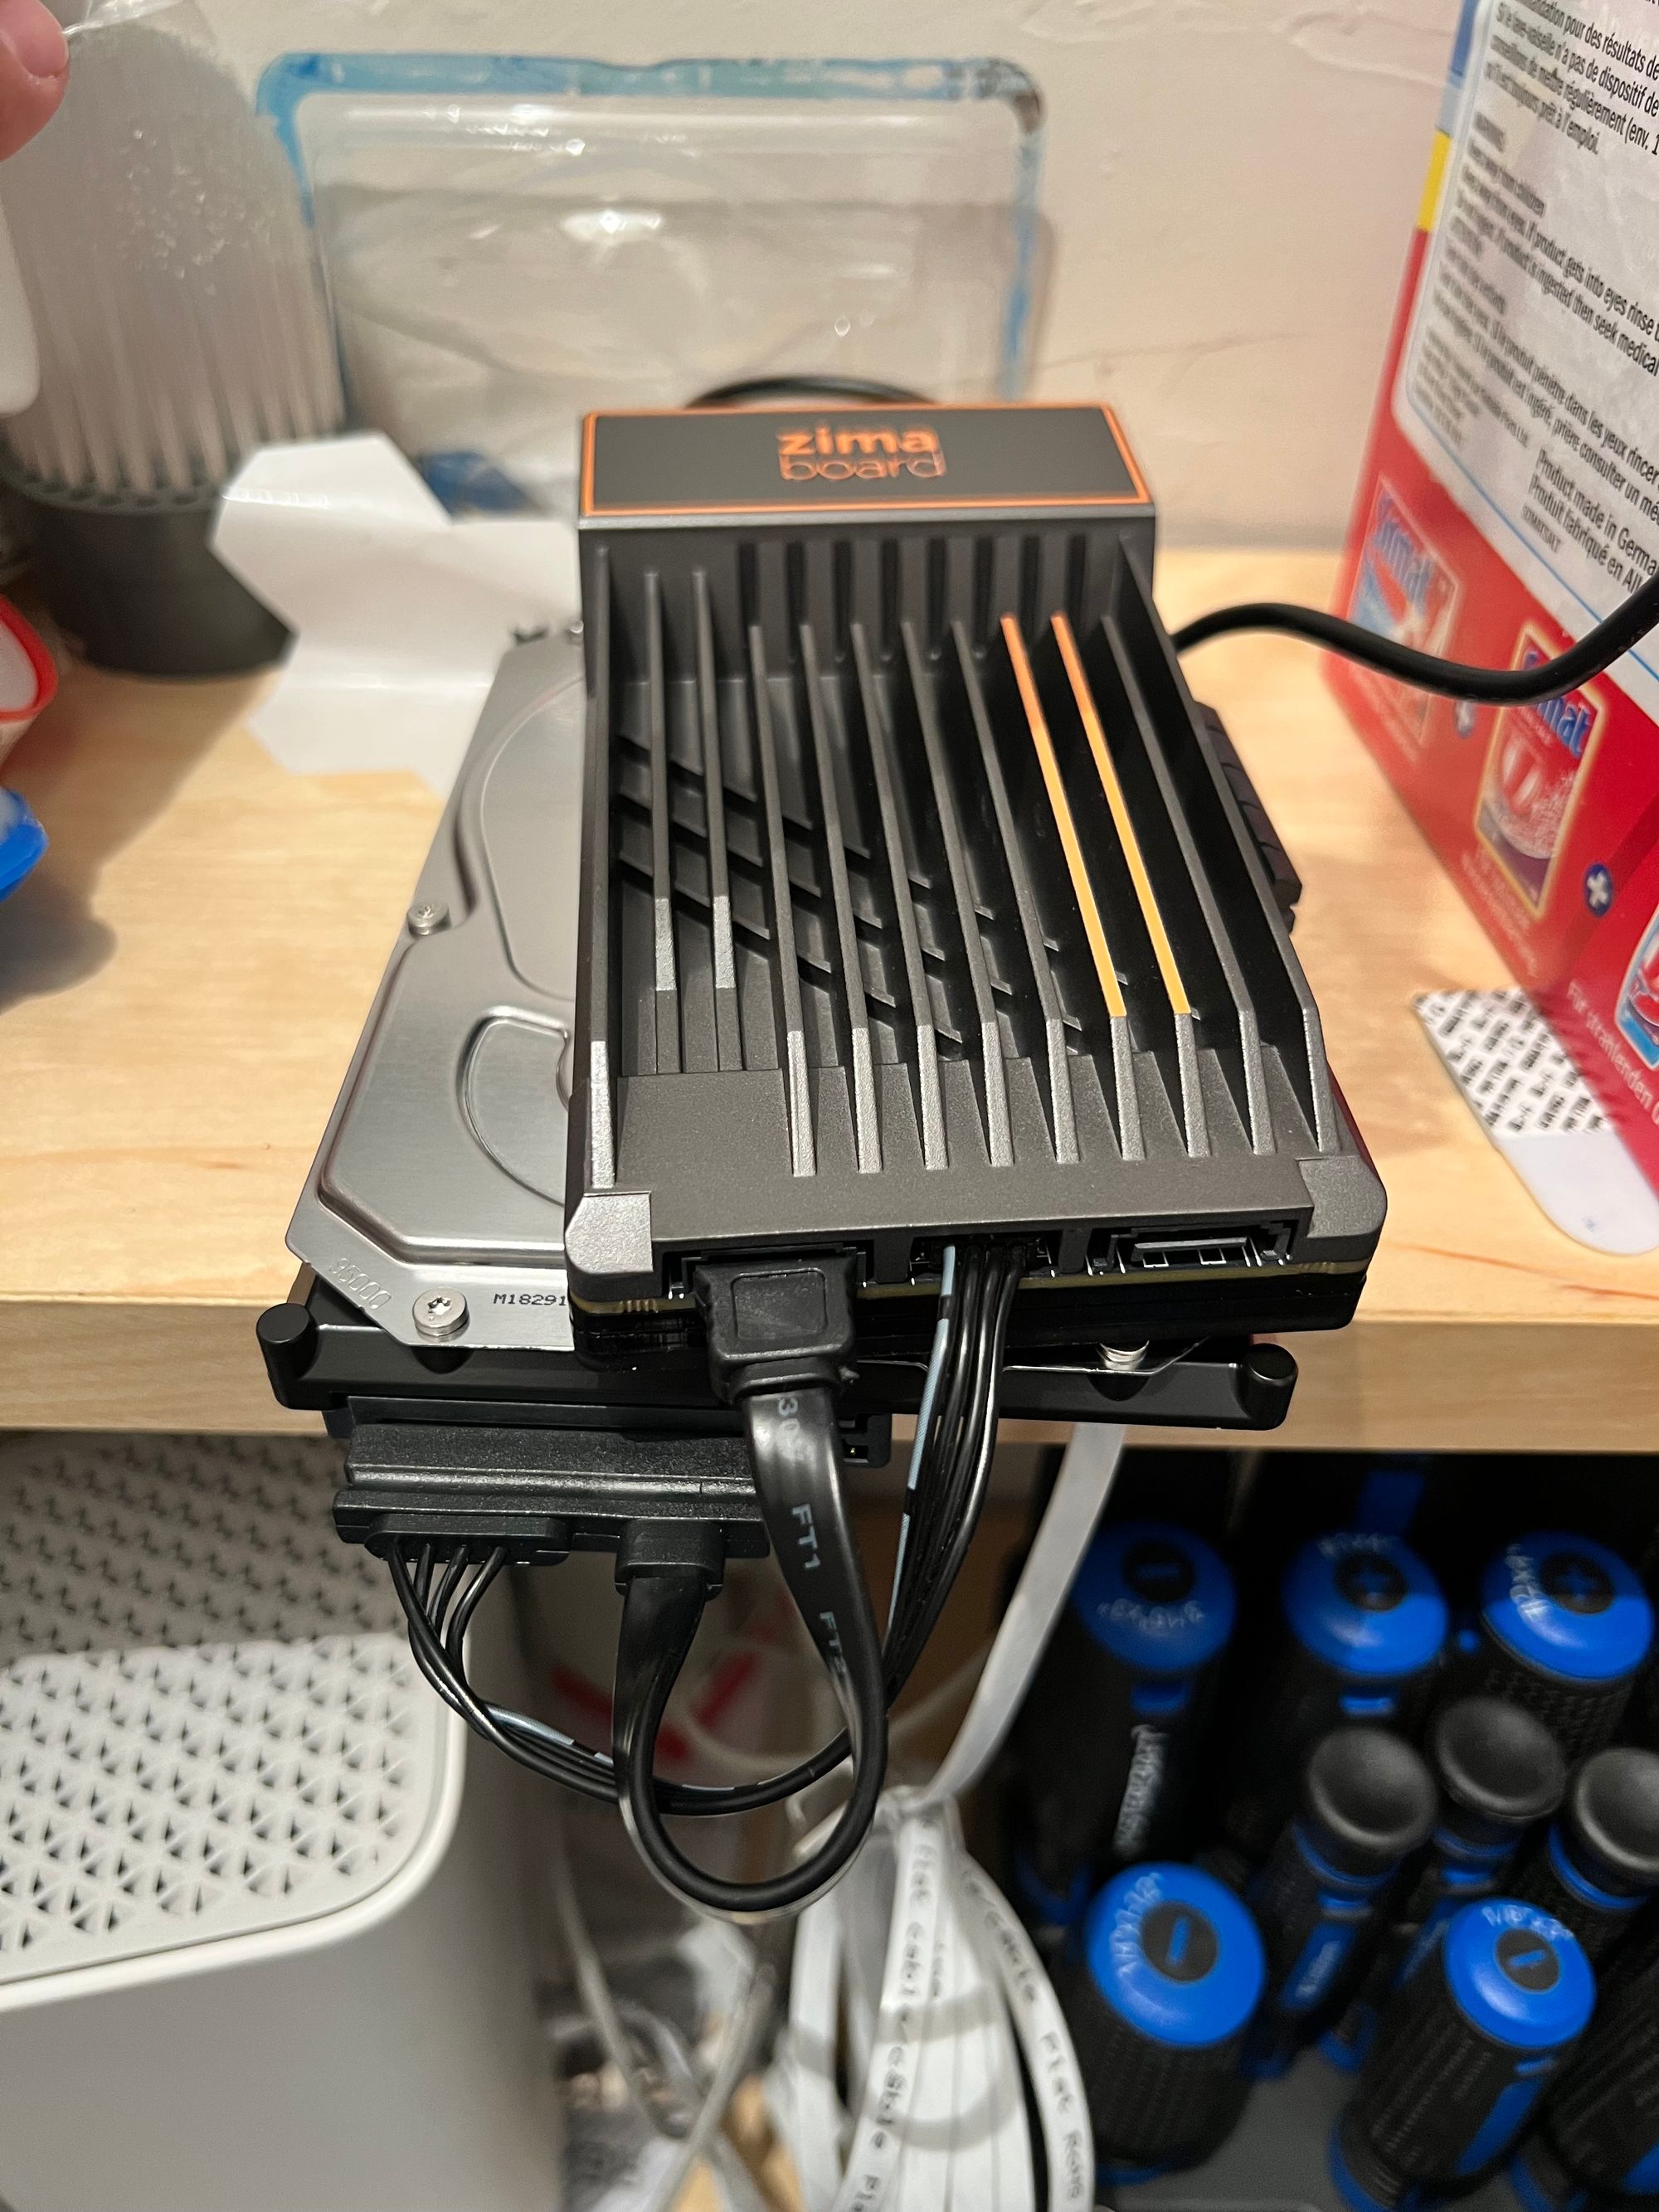
I was one of the early backers of this Kickstarter project and got the server's N3450(4GB+32GB) version.
Now back to the topic - this is a simple samba-based Time Machine solution. As ZimaBoard runs with CasaOS on Debian 11, you will have Samba 4.13 right in the box! The configuration can work for any other Debian-based system as well. In my opinion, the fastest way to get Time Machine up and running.
Step 1 - create timemachine user
Let's start with a time machine user creation on the server. For that let's SSH on ZimaBoard. Right of the box server should have CasaOS installed, which should make the server available under casaos.local domain.
Connecting to the server:
ssh [email protected] Creating a new Linux user:
sudo useradd timemachineSetting up a samba password for the user:
sudo smbpasswd -a timemachineStep 2 - create the time machine folder
In my case, I got a 2TB Barracuda HDD installed on the SATA interface of ZimaBoard. df -h showed that volume is mounted under /DATA/Storage_1
Let's create the folder(under sudo, as the root of the volume is owned by root):
cd /DATA/Storage_1
sudo mkdir timemachine
Now let's change the owner of that folder to our timemachine user:
sudo chown timemachine:timemachine timemachine/Step 3 - Samba configuration
I played a bit with the configuration, at that's how it looks for me.
sudo nano /etc/samba/smb.conf
The global section:
[global]
   min protocol = SMB2
   ea support = yes

   vfs objects = fruit streams_xattr
   fruit:metadata = stream
   fruit:model = TimeCapsule
   fruit:posix_rename = yes
   fruit:veto_appledouble = no
   fruit:nfs_aces = no
   fruit:wipe_intentionally_left_blank_rfork = yes
   fruit:delete_empty_adfiles = yes
Now add those lines to the bottom of the configuration file:
[timemachine]
   comment = Time Machine
   path = /DATA/Storage_1/timemachine
   browseable = yes
   writeable = yes
   fruit:time machine = yes
   valid users = timemachine
Step 4 - Time Machine configuration
Now open your OSX system configuration -> go to Time Machine -> "Select backup drive". You should see your CasaOS.local Time Machine drive is available!
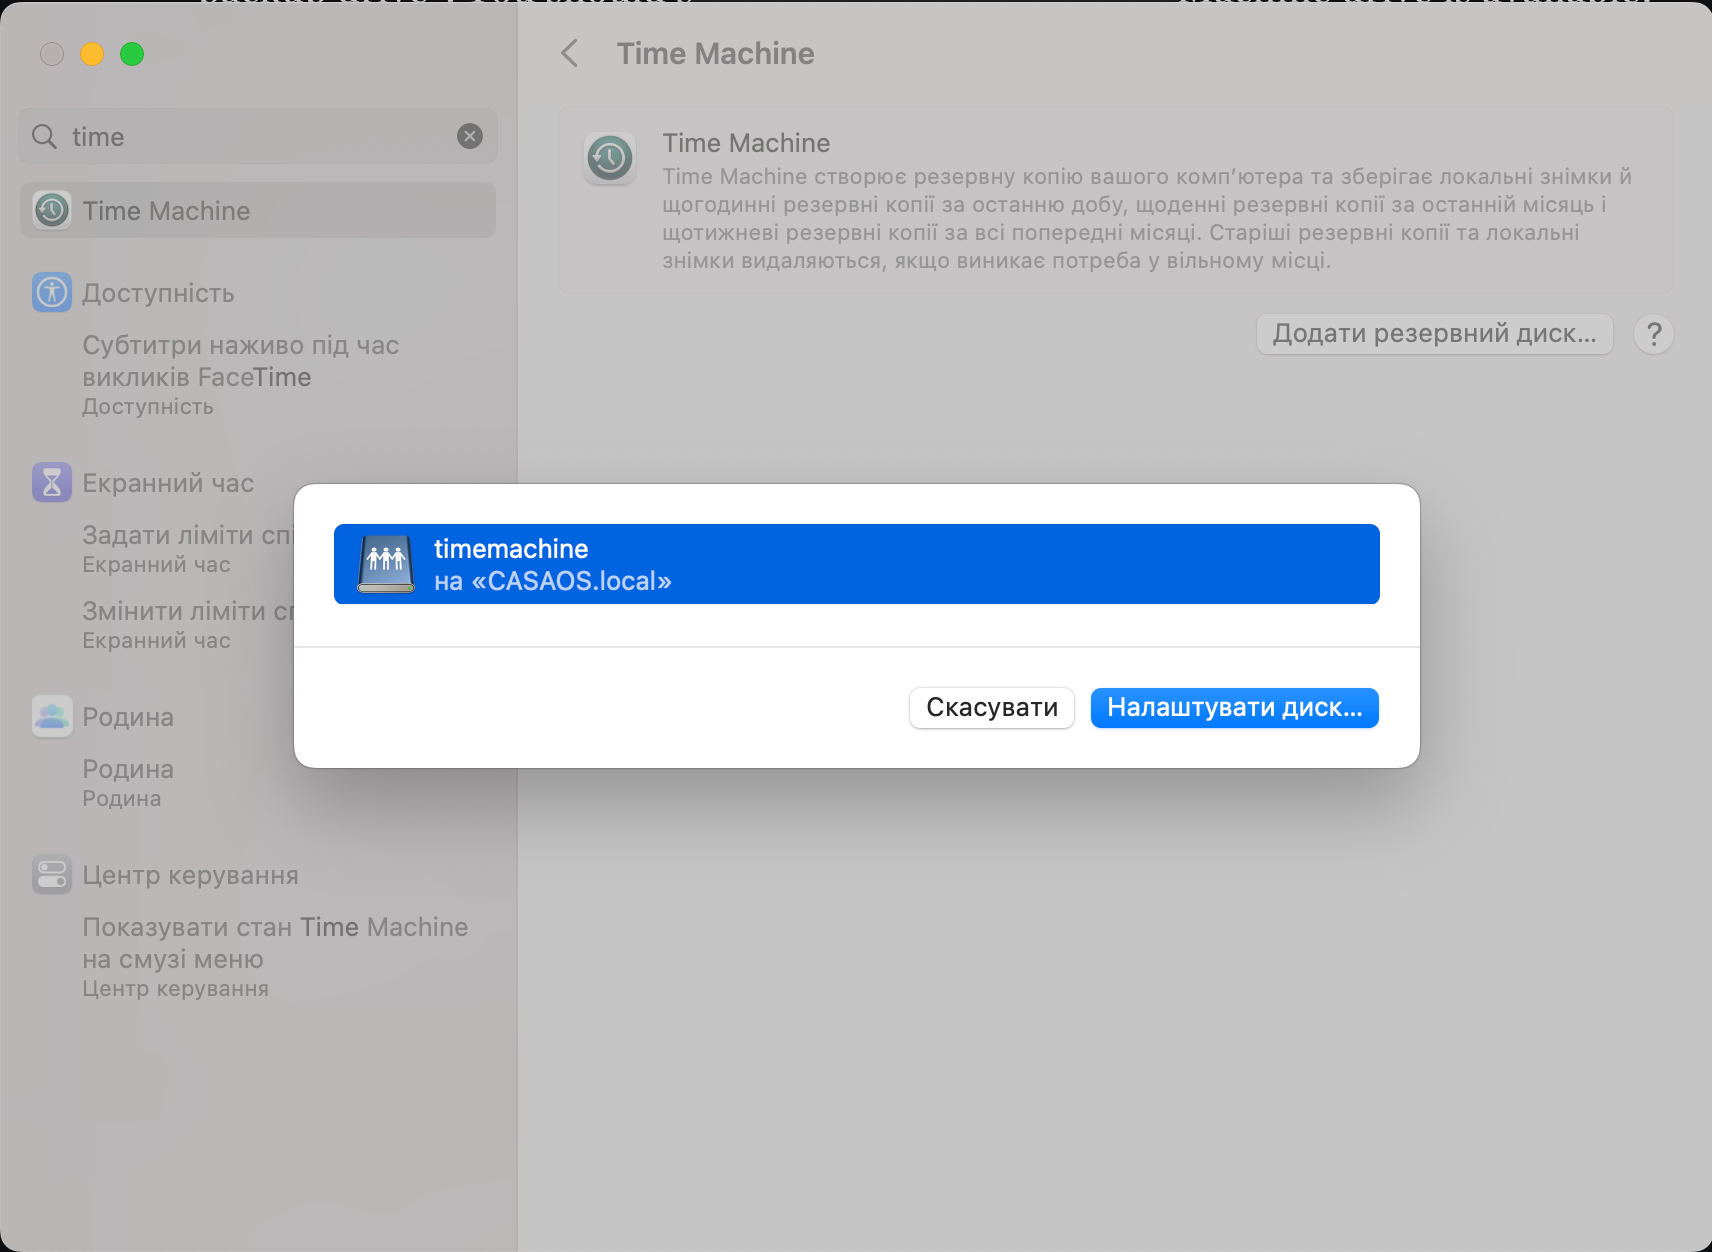
Pick up the timemachine drive(obviously), and on authorization, prompt use Samba password created on step 1.
That's it! Now you can hide your ZimaBoard to the chamber and get back to work! Happy backups!⭐️